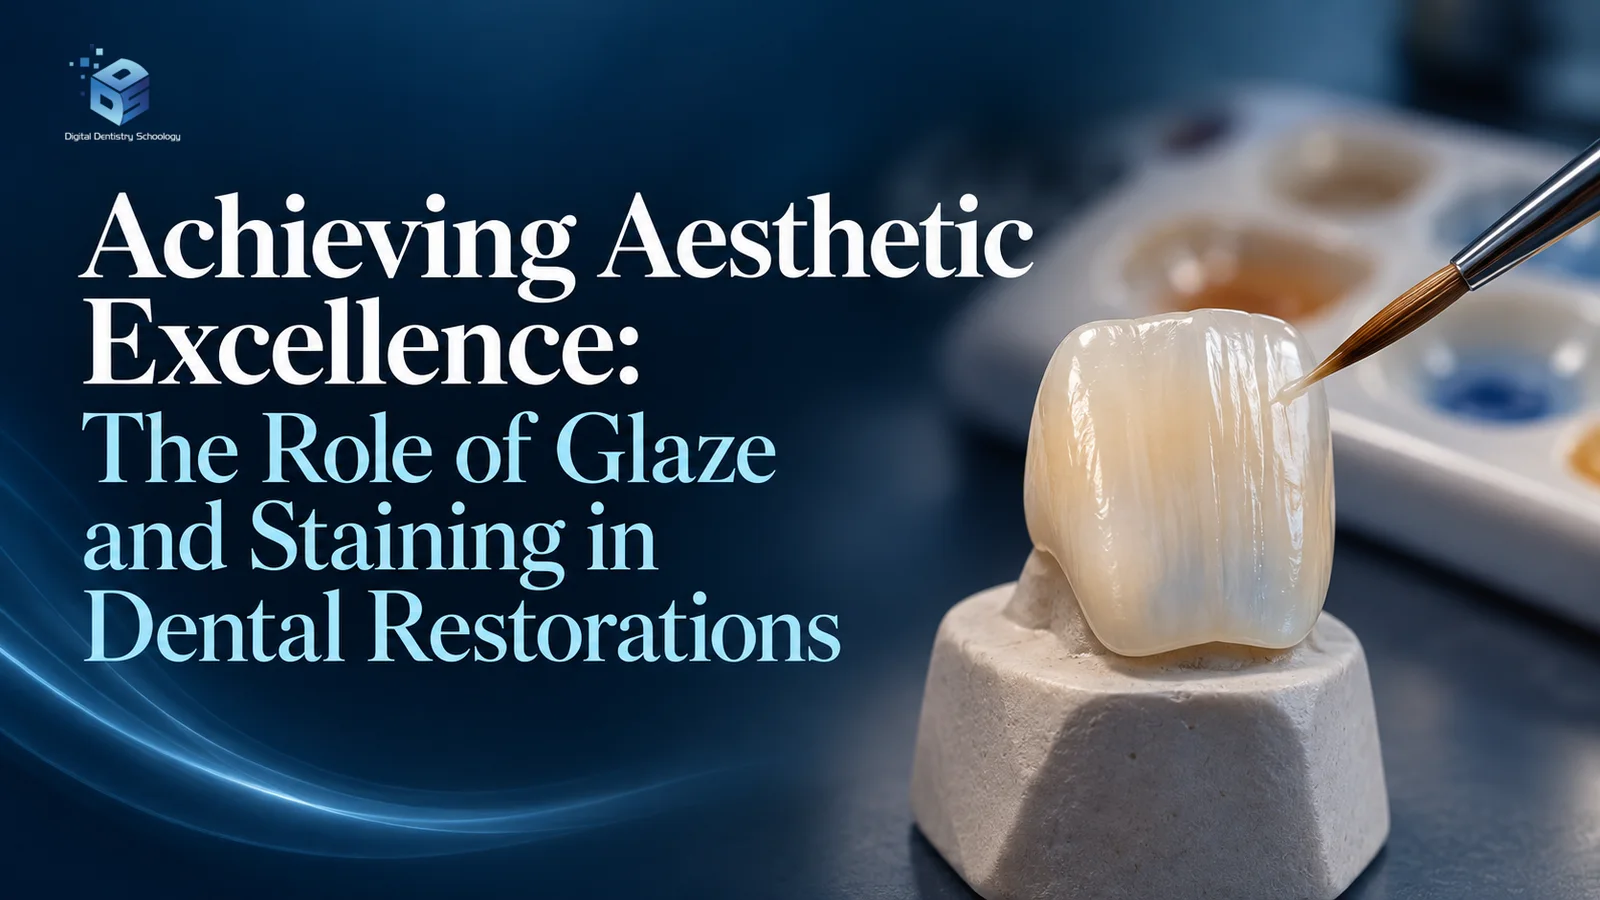
Achieving Aesthetic Excellence: The Role of Glaze and Staining in Dental Restorations
Should a ceramic restoration be stained, glazed, polished, or finished with a combination of these steps? The answer starts with the restorative material, the surface being treated and the intended result. Stains modify appearance; glaze provides a fired surface coating; polishing mechanically refines the surface. A glossy crown is not, by itself, evidence of plaque prevention or longer clinical survival.
This guide separates aesthetic characterization from wear performance and outlines the checks needed to use a compatible finishing system. It is literature-led education for dentists and dental technicians, not a universal firing recipe or a report of treated patients.
Learning objectives
After reading, you should be able to:
- Distinguish staining, glazing and polishing by their purpose and processing method.
- Interpret material-specific laboratory findings on opposing enamel wear without treating them as clinical longevity or plaque-prevention evidence.
- Identify the restorative substrate, product variant and processing stage needed to select compatible finishing instructions.
- Outline the checks for contacts, surface preparation and final surface reassessment after adjustment without applying a universal firing recipe.

What each finishing step does
Staining uses colourants to characterize a restoration, for example its cervical chroma or incisal effects. External characterization changes the appearance of the surface; it should not be confused with changing the bulk material’s optical properties. Glazing applies a compatible glaze material and fires it according to its instructions. Polishing uses an appropriate finishing sequence to refine surface texture mechanically. These are distinct tasks that can be combined within a manufacturer’s workflow. VITA’s instructions for monolithic VITA YZ restorations, for example, require high-gloss polishing of occlusal surfaces before glazing. [3]
Fired ceramic stains and glazes are not interchangeable with light-cured resin coatings. Do not transfer a ceramic furnace programme to a composite or assume that every product called a glaze is compatible with every restoration. The relevant instructions are those for the exact restorative material and finishing product, including their generation and regional indication. The examples below concern ceramic systems. [3] [4] [5]

What the wear studies actually show
Amer and colleagues tested 72 specimens across zirconia, lithium disilicate and feldspathic porcelain, comparing rough, smoothly finished and glazed surfaces in a three-body wear simulator. After 50,000 cycles, the smoothly polished groups caused less opposing enamel wear than the glazed groups under those test conditions. This was a laboratory comparison of surface treatment and antagonist wear, not a trial measuring restoration lifespan or plaque accumulation. [1]
Lawson and colleagues compared adjusted, adjusted-and-polished and adjusted-and-glazed zirconia and lithium disilicate, alongside veneering porcelain and enamel controls, with eight specimens per group and 400,000 simulated chewing cycles. Polished zirconia caused less enamel wear than adjusted or adjusted-and-glazed zirconia. Importantly, adjusted-and-glazed lithium disilicate and adjusted-and-polished lithium disilicate produced statistically similar enamel wear in this experiment. The result is material-specific: it does not justify saying that glazing is always harmful. [2]
Different simulator designs, materials and wear measurements should not be pooled into a universal clinical ranking. These studies support attention to the final surface, especially after adjustment; they do not establish a percentage increase in clinical longevity, a reduction in remake rates, or a plaque-prevention guarantee. Neither a laboratory wear result nor a manufacturer’s aesthetic claim replaces follow-up of the delivered restoration.
Choosing a compatible system
VITA AKZENT Plus
VITA AKZENT Plus includes characterization and glazing products. In the cited VITA YZ MULTI TRANSLUCENT instructions, the sequence includes polishing direct antagonist-contact areas, glazing and optional additional characterization; the crown interior must remain free of glaze material. This is a VITA YZ example, not permission to use any AKZENT glaze on any ceramic. Check the exact glaze variant and current material instructions before processing. [3]

Ivoclar IPS e.max Ceram
Ivoclar IPS e.max Ceram is a family of materials, not simply one fluorescent stain. Its instructions distinguish Shade pastes, Essence powders and Glaze powder/paste, including FLUO versions. They specify clean, grease-free surfaces and warn against pooling or excessive application thickness. Identify the actual product before choosing its liquid, application and firing programme. IPS e.max Ceram Selection layering materials should not be mistaken for the stain-and-glaze products discussed here. [4]

GC Lustre Pastes
GC Lustre Pastes encompasses product generations and variants. GC’s current Initial IQ Lustre Pastes ONE page describes ready-to-use feldspar-based ceramic pastes for characterization; it separately identifies Lustre Pastes NF Gum Shades. Do not identify an older photographed kit as ONE without checking its label. For a concrete workflow, the cited GC Initial LiSi Block manual describes Lustre Pastes ONE application on that material, with consistency control, cleaning after trial fit and a material-specific firing schedule. [5] [6]

These manufacturer sources establish product identity and processing context. They are not head-to-head clinical evidence that one system lasts longer, is easier for every operator, or produces fewer remakes. Select a system for verified compatibility and the required optical effect rather than unsupported “best product” rankings.
A practical finishing workflow
- Define the task and document the material. Record the restoration material, its processing state, the exact stain/glaze products and the required finish. Separate shade communication from manufacturing. A shade photograph or instrument reading is an input for assessment, not an automated staining instruction.
- Check shape and contacts before the final finish. Use the material’s prescribed finishing instruments and evaluate the areas that need adjustment. Ivoclar’s IPS e.max CAD staining guide distinguishes crystallization from later staining/glazing and includes proximal and occlusal contact checks. That sequence belongs to its specified CAD pathway; it is not a zirconia sintering programme. [7]
- Prepare a clean surface and control the application. Follow the exact product’s cleaning and liquid instructions. Avoid assuming that more glaze means a better surface. GC’s LiSi Block manual warns that overly thick or overly fluid Lustre Pastes ONE mixtures compromise handling or the intended surface effect; Ivoclar warns against pooling and overly thick applications. [6] [4]
- Use the compatible firing schedule. Confirm the restorative substrate, product variant, furnace and processing stage against the current instructions. Do not copy a temperature from another ceramic or product generation. The linked manufacturer examples provide context; they do not replace the current local instructions supplied with the products. [3] [7]
- Reassess the final surface after adjustment. Check texture and the areas contacting opposing teeth. Follow the material-specific repolishing or reglazing route rather than assuming that a previously glazed restoration remains adequately finished after grinding. The laboratory wear findings and VITA YZ polishing requirement explain why this checkpoint matters. [1] [2] [3]

Digital photographs and shade instruments can assist dentist–laboratory communication, but capturing a shade, choosing a material and applying characterization remain different steps. The image above illustrates an instrument, not artificial intelligence or an independently demonstrated reduction in remake rates. Any AI-assisted colour proposal still requires material compatibility and clinical verification.
Two finishing questions
How should anterior characterization be planned?
Before selecting a stain to reproduce cervical and incisal effects, establish the ceramic identity, shade records and compatible product instructions. A surface stain may provide a visual effect, but the laboratory should not promise to correct every mismatch in the underlying material by applying more colour. Assess the result and revise the material or characterization plan if the intended appearance cannot be achieved within the instructions.

What should be checked after an occlusal adjustment?
After an occlusal adjustment, identify the material-specific route for restoring the surface. Lawson’s zirconia and lithium-disilicate results should not be treated as identical: the zirconia comparison favoured polishing over adjustment-and-glazing, whereas those two finishing groups were statistically similar for lithium disilicate in that experiment. This supports a careful, material-specific decision, not a claim that every crown should receive the same finish. [2]
Takeaway and evidence limits
For the dentist, distinguish shade acceptance, contact adjustment and final surface assessment. For the technician, identify the exact substrate, characterization product and processing stage before choosing the firing route. Staining, glazing and polishing can complement one another; aesthetic gloss and laboratory wear are different outcomes.
The cited wear studies are laboratory experiments, not clinical follow-up studies. They cannot establish how long a restoration will last, whether plaque will accumulate, or how often a restoration will need to be remade. No patient case or patient outcome is reported in this article.
AI shade selection, pre-coloured manufacturing and novel glaze formulations should be evaluated with product-specific evidence rather than predicted guarantees. The evidence reviewed here does not establish that these approaches improve long-term clinical survival. A well-finished restoration requires a compatible process and appropriate clinical reassessment, not a universal promise attached to a glaze.
References and manufacturer documentation
References (7)
- Amer R, Kürklü D, Kateeb E, Seghi RR. Three-body wear potential of dental yttrium-stabilized zirconia ceramic after grinding, polishing, and glazing treatments. J Prosthet Dent. 2014;112:1151–1155. PMID 24836531; DOI 10.1016/j.prosdent.2013.12.021. Laboratory study; abstract reviewed.
- Lawson NC, Janyavula S, Syklawer S, McLaren EA, Burgess JO. Wear of enamel opposing zirconia and lithium disilicate after adjustment, polishing and glazing. J Dent. 2014;42:1586–1591. PMID 25257823; DOI 10.1016/j.jdent.2014.09.008. Laboratory study; abstract reviewed.
- VITA Zahnfabrik. VITA YZ MULTI TRANSLUCENT instructions, section 5.2, page 16: polishing/glazing with VITA AKZENT Plus. Manufacturer processing instructions; current-version link.
- Ivoclar. IPS e.max Ceram instructions, section II: Stains and Glazes. Manufacturer processing instructions; confirm the exact product and current regional IFU.
- GC Europe. Initial IQ Lustre Pastes ONE. Manufacturer product description and manual access; not comparative clinical evidence.
- GC. Initial LiSi Block manual, section 5.2.4: Initial IQ Lustre Pastes ONE application; section 5.4 firing recommendations. Instructions for this material pathway.
- Ivoclar Vivadent. Staining Technique with IPS e.max CAD Crystall./IPS Ivocolor, 2016-04, Rev. 1, option 2. Historical manufacturer workflow example; verify current compatible instructions before clinical use.
About Dr. Haitham Sharshar



Dr. Haitham Sharshar is an international digital dentistry speaker, educator, and digital occlusion consultant based in Cairo, Egypt. His work focuses on functional digital dentistry, CAD/CAM, implantology, jaw-motion analysis, and the integration of digital diagnostics into clinical treatment planning.
As Founder and Scientific Coordinator of Digital Dentistry Schoology (DDS), he has trained more than 3,270 dentists and dental technicians through university programs, international conferences, and hands-on courses. His teaching connects patient-specific diagnostic records with digital design and clinical workflows, helping clinicians and technicians understand how function and occlusion inform restorative planning.
Dr. Sharshar is a certified trainer for zebris JMA-Optic+ jaw-motion analysis and MyoWise dental EMG. His educational and consulting work brings together patient diagnostics, jaw-motion records, muscle-activity data, digital occlusion, and AI-supported workflows.
He is Founder and Clinical Director of Occlusa, an AI-supported platform for organizing clinical information and supporting clinician-led review and treatment planning. He also owns HS Dental Clinic in Cairo, where his clinical focus includes full-mouth digital rehabilitation and smile design.
His speaking and training topics include functional digital dentistry, digital occlusion, jaw-motion analysis, CAD/CAM workflows, digital implantology, and the practical integration of AI-supported tools into dental education and clinical practice.
WHERE DIGITAL MEETS CLINICAL
Happy to collaborate on spreading digital dentistry.
h.sharshar@ddschoology.com